How to Make a Clay Olive Oil Lamp – Late Roman Style
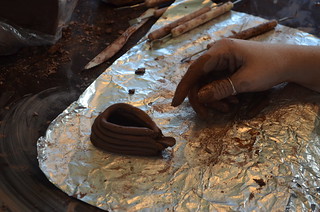
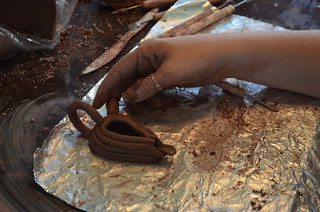
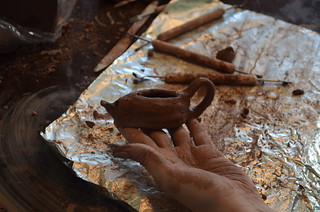
I made a couple of oil lamps yesterday to see if it was possible to make them during Seminary.


I created a Flickr tutorial for this project and posted it here:
http://www.flickr.com/photos/mormonshare/sets/72157630840973234/ – follow this link to find more pictures and instructions for making these simple clay olive oil lamps.
What I learned
First off, these lamps are not created the way that lamps would have been made during Bible days. Those oil lamps would have been turned on a potter’s wheel.
These clay lamps took a little over an hour to make.
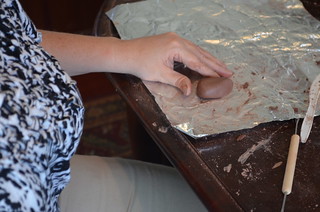
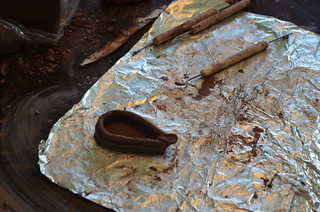
I used terra cotta colored air-dry clay by Amaco. A big block of it cost $10, and that clay would be enough to make about 30 small lamps. It was a difficult material to work with for me, since I had never done any kind of pottery before. I had to cut chunks off and soak them in water for about 20 minutes before I could get the clay to a consistency that I could work with. I think that Crayola’s air dry clays or oven baked clays are probably easier to use.
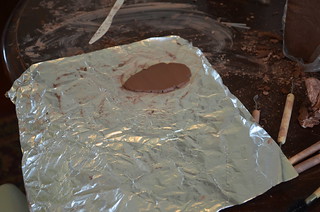
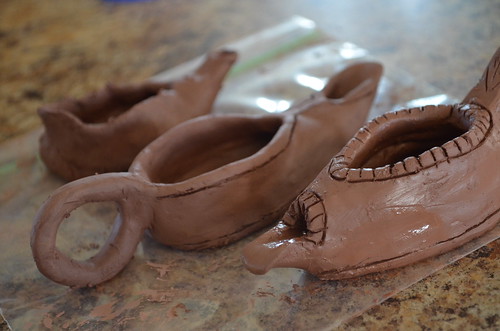
Folded lamps (like the farthest one in the picture) take more clay.
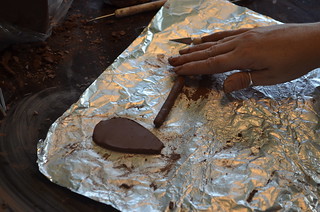
The clay tools I bought made working with the clay so much easier and fun! The set I got cost around $7.00 at Michael’s.
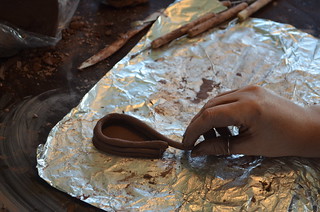
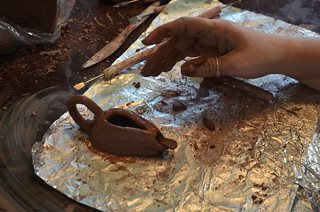
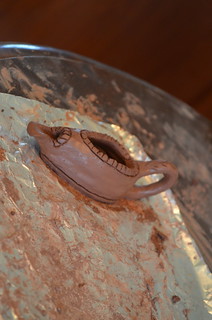
I lit my lamp using a tightly twisted up paper towel as a wick. It worked perfectly. A tablespoon and a half of oil burned thirty minutes, until I blew the flame out.
ATTENTION! The type of clay I used absorbs oil. You will need to coat your sculpture with a varnish or other finish to prevent the oil from soaking in and causing your lamp to crumble.
Downloads

You May Also Like

The First Week: Study Helps Jeopardy – Mentors/Minions

Jenny’s Free Mutual Breakout Room: Missionary Escape